Adding Multiple Color to One Die
Do you want to add a large die to your paper project but don’t want it to be all one color? What if you try adding multiple colors to one die? How do you do that?
Adding Multiple Colors to One Die
- Add multiple colors ink with blending brush
- Add multiple colors ink by watercoloring
- Add multiple colors with markers
- Cut die out in multiple colors cardstock, then cut them apart and piece together to create diecut image
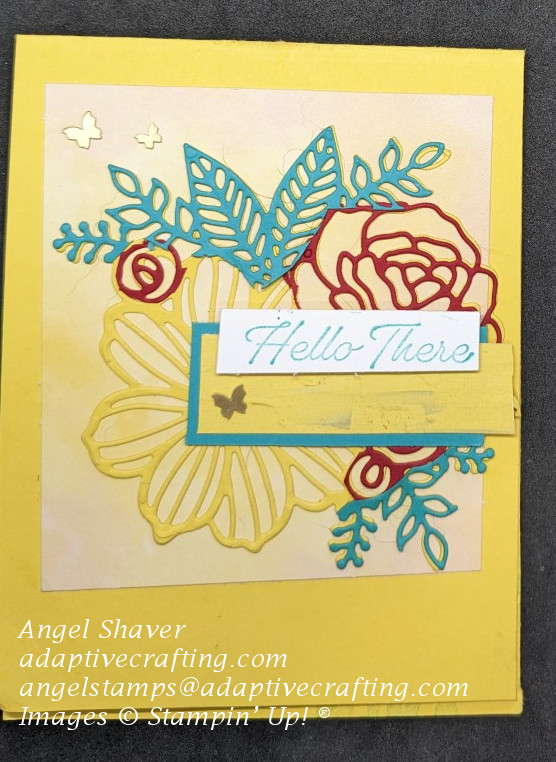
Card Details
Does thinking about how to add multiple colors to one die stress you out? I want to turn your crafting stress into success.
I’m not sure there’s any really simple way to do this. Probably the simplest way would be to cut the die in white cardstock or watercolor paper. Then, add colors with blending brushes, markers, or watercolors.
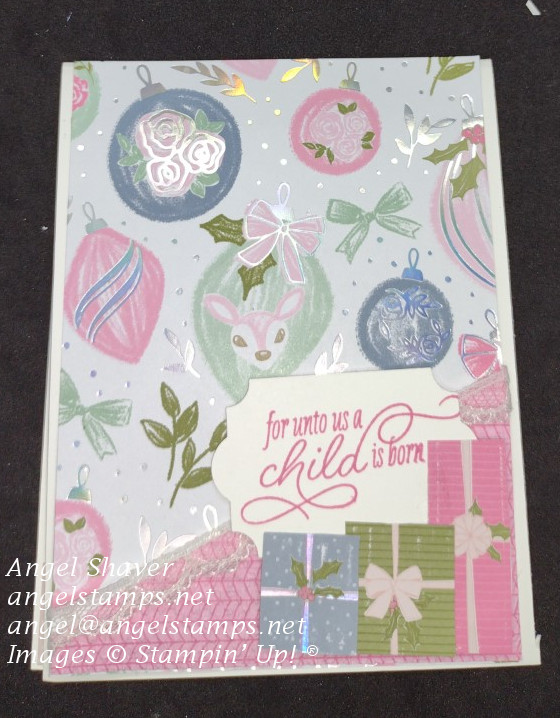
Multiple colors were added to this card by diecutting the design three different times in three different colors. All were cut out in cardstock with Adhesive Sheets on them. First, Leave the yellow die whole and adhere it directly to the card front layer. Next, Cut the other cardstock colors and adhere the parts directly to the yellow die. The final product is a die with yellow and red flowers and bermuda bay leaves.
You could use whichever colors fit your design needs. I’d love to see what you create. Feel free to share them in the comments.


Make sure you head over to Just Add Ink #647 and #tgifc415 to see the inspiration cards by the design teams and other creative entries.
Click here to see and purchase products used to create this card.
Also Used:
Bermuda Bay Cardstock (retired)
Bermuda Bay Classic Ink Stampin’ Pad (retired)
Last Chance Products


Host code for
| April 1-13 is ZKNT7CQZ |