National Pumpkin Day
October 26 was National Pumpkin Day. So, in honor of that day, all my creations Thursday featured pumpkins.
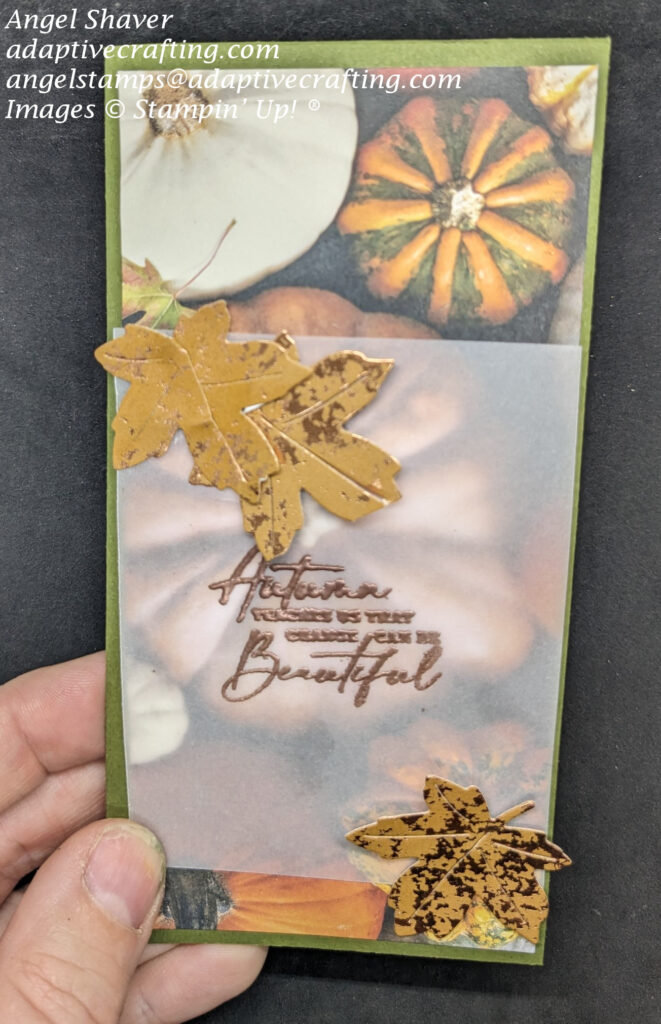
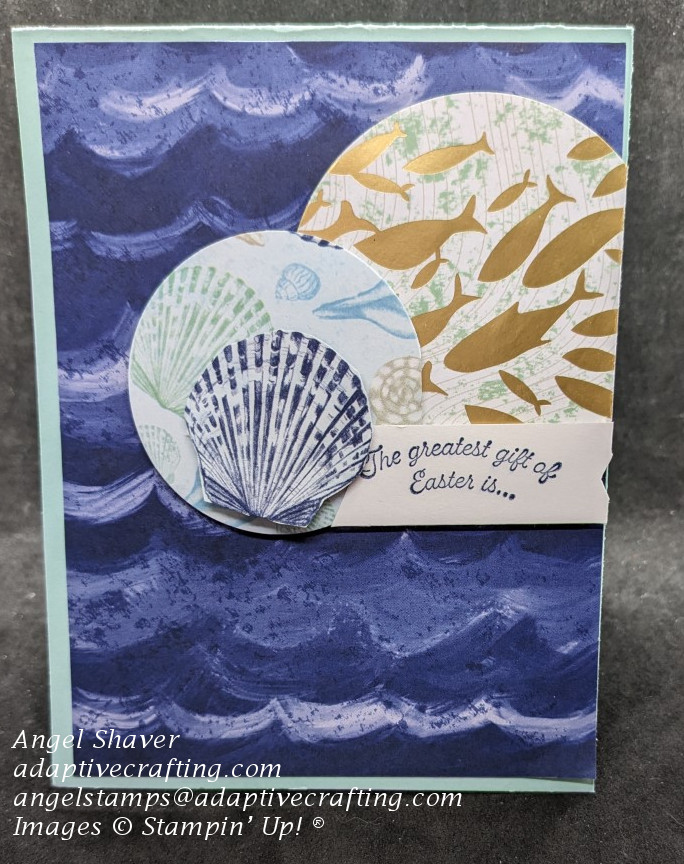
The All About Autumn Designer Series Paper pack has photo realistic autumn themed pictures on one side of each paper. There is a gorgeous pattern with all different colors of pumpkins, squash, and gourds. It was perfect for a National Pumpkin Day card.
Where do you see pumpkins this time of year?
- On your porch
- In your garden
- On neighbors porches
- At a pumpkin patch
- At the store
Any other places you see pumpkins right now?
I like to see them when they’re all made up into a pie. What about you?
Card Details
Love your patterned paper so much you don’t want to cover its beauty? I want to help turn your crafting stress into success. Use vellum as your sentiment layer and you can still see the patterned paper underneath.
Another way to use more of your patterned paper is to create a slimline card. This one is 3″ x 6, So you could just cut a piece of the 6″ x 6″ DSP in half and use it on two cards without losing any of the image. I did cut off a little of the DSP for this card to create a border of the Mossy Meadow card base. The dimensions for this piece of DSP is 2 3/4″ x 5 3/4″
One of my favorite things to do with vellum is to stamp directly on it. This sentiment was stamped in versamark and heat embossed with copper embossing powder. When heat embossing vellum, be careful and don’t hold the heat tool too close and always keep it moving. There is a danger of burning your vellum if you heat it too close, too long in one section.
When attaching the vellum to the card, put some sort of embellishment or die on the front of the vellum. Then, you can hide adhesive on the back of the vellum directly behind the embellishment. That will keep it from showing through the vellum.
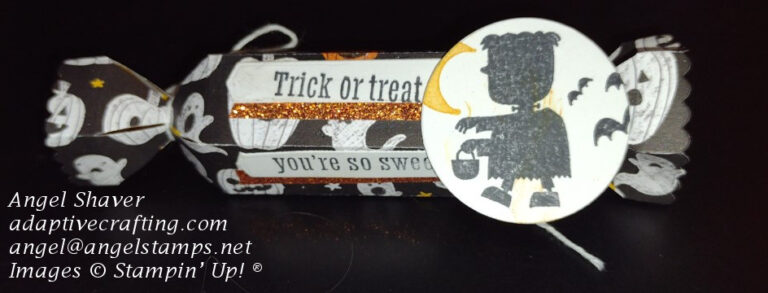
This card has a pumpkin suprise on the inside.
How to Create a Fold Out Pumpkin on the Inside of Your Card
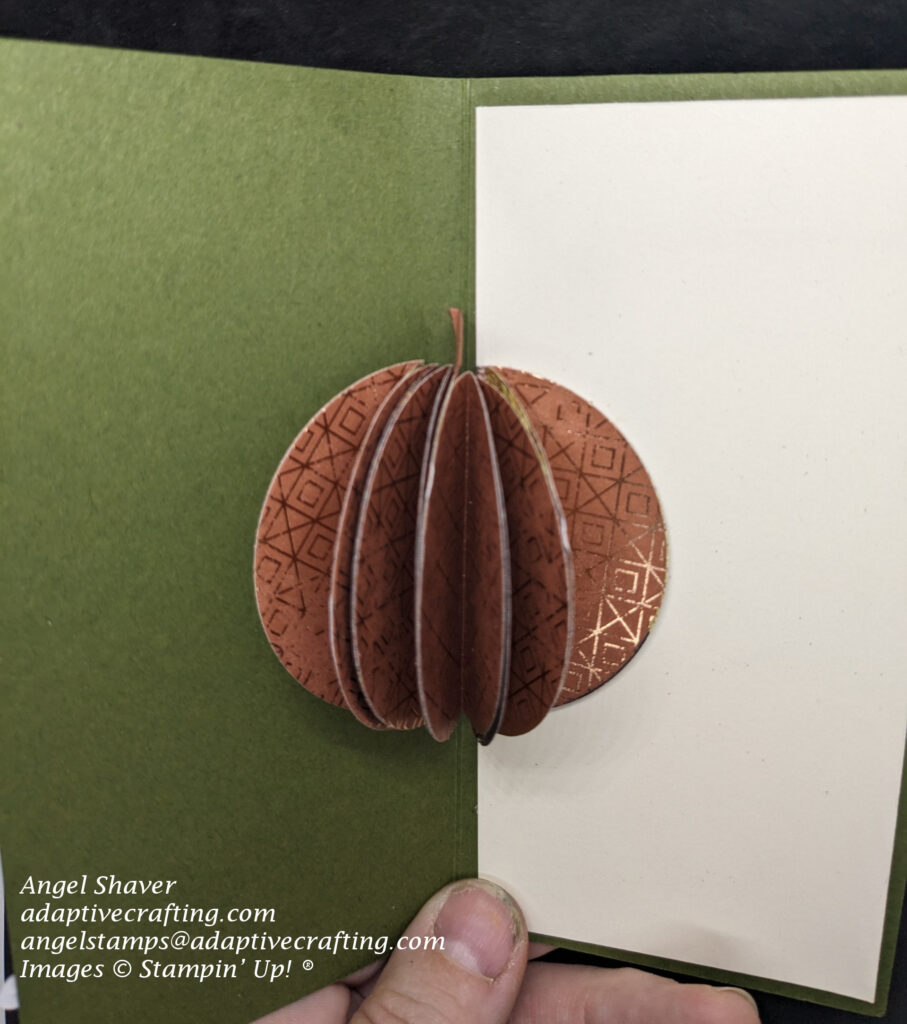
- Cut out 8 diecut circles
- Fold the circle in half with pattern you want to use for the pumpkin on the inside
- Glue 4 circles folded in half together.
- Add small piece of cardstock for stem.
- Finish gluing folded circles to stack.
- Glue half circle on right side of stack to right side of card interior.
- Add glue to left side half circle and close card.
- Open to see your pumpkin surprise.
Click here to see and purchase products used to create this card.
Video Tutorial
Other Pumpkin Themed Cards
Pumpkin Patch
How Do You Say Thanks?
The Best Part of Fall
Host code for
| April 1-13 is ZKNT7CQZ |


So pretty, Angel! I love your heat-embossed sentiment – so striking on the vellum! I really need to try this more! Your DSP still shows beautifully behind it! Thanks so much for playing at As You See It!
Great pumpkin themed card, Angel. I really liked the surprise of the 3D pumpkin in the center of the card, too! And the copper embossed sentiment looks really rich! Thanks for filling in the blank for us at As You See It Challenges!
Loving the vellum panel on your card Angel – it’s the perfect background for your embossed sentiment & those beautiful leaves! Thanks for joining us at As You See It Challenge