Personalize Your Notebook
Back to School time always feels a bit like a reset to me–a bit like a new year, time to make resolutions. And, in a way it is the beginning of a new year, a new school year. Even if you’re not beginning a new school year, you can still take the time to reset, get new supplies, and reimagine your goals for the year.
Can’t find the perfect school or work supplies for your fresh start? Try a little diy. Personalize your notebooks.
Personalize Your Notebook
- Choose your favorite patterned paper for the cover.
- Add decorations if you want. Keep it simple or stepped up.
- Label the front with dies or hand lettering to identify the notebooks purpose.
Project Details
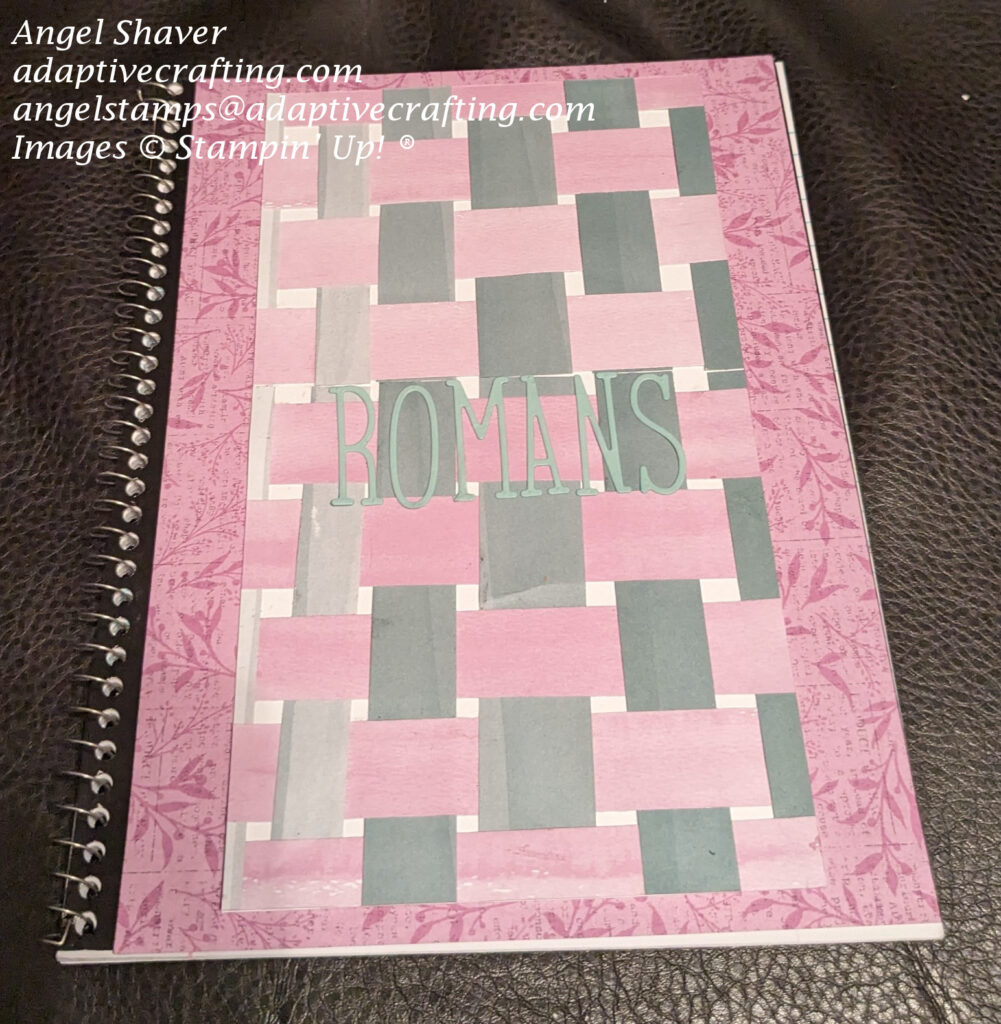
This notebook started with a piece of Masterfully Made patterned paper cut to cover the entire front cover of the notebook. That would have been enough to create a beautiful personalized notebook with your favorite color.
But, I decided to step it up a notch. Create the panel for the front of the notebook by weaving strips of two different patterns of paper and gluing them down to a piece of white cardstock. The papers used were from the Bright & Beautiful Designer Series Paper Pack.
Finally, use the Alphabest Dies to spell out the label needed to identify this notebook. Back to School also means the start of Fall Bible Studies. So I took this opportunity to create a personalized notebook for my study on Romans this fall.
Creating a Personalized Label
Creating a personalized label to say anything you want is simple with dies backed with adhesive sheets. Just line them up on your notebook and when you are pleased with the placement, just peel and stick each letter. To get a more centered look, start by placing the center letter in the middle of the notebook where you want your word and then build out from there. If your word has an even number of letters, put the middle two right next to the center of the notebook and build out from there.
This notebook started with M and A together in the center.
Then add O to the left of M and N to the right of A.
Finally add R to the left of O and S to the right of N.
You are left with a centered word ROMANS.
Click here to see and purchase products used to create this project.
Other Back to School Projects
Are You Ready for Back to School?
Another Personalized Notebook
Host code for
| April 1-13 is ZKNT7CQZ |