Birthday Season?
Growing up, August was the beginning of birthday season in my family. We had 1 birthday in August, 1 in September, and 2 in November. As my sister and I have grown up and started families of our own, our husbands and children have added even more birthdays. I think we can still call this the beginning of birthday season however. Our husbands with their spring birthdays are just the outliers. 🙂
Oh, and I don’t really know where my son falls with his June birthday. Due August 18, he was supposed to fall squarely in birthday season, but maybe he wanted a season all his own. 🙂
Now birthday season consists of, 1 August, 1 September, 3 October, and 2 November. There’s about to be a whole lot of celebrating happening around here.
Card Details
Need a gorgeous card in a hurry. Want it homemade, but don’t have a lot of time to spend picking out coordinating products and then creating? I’d love to help turn your crafting stress into success.
Short on time, energy, or inspiration, but still want to create something beautiful and handmade? Memories and More kits to the rescue.
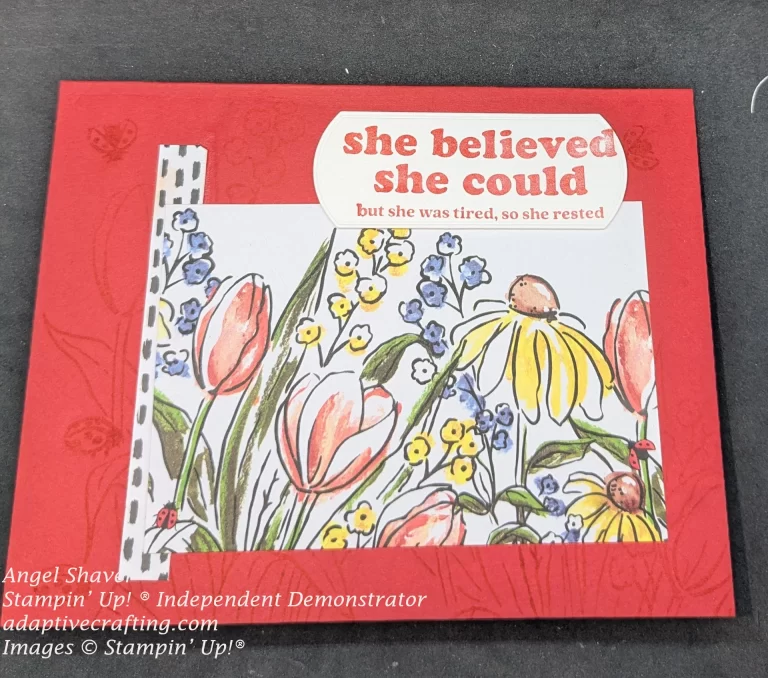
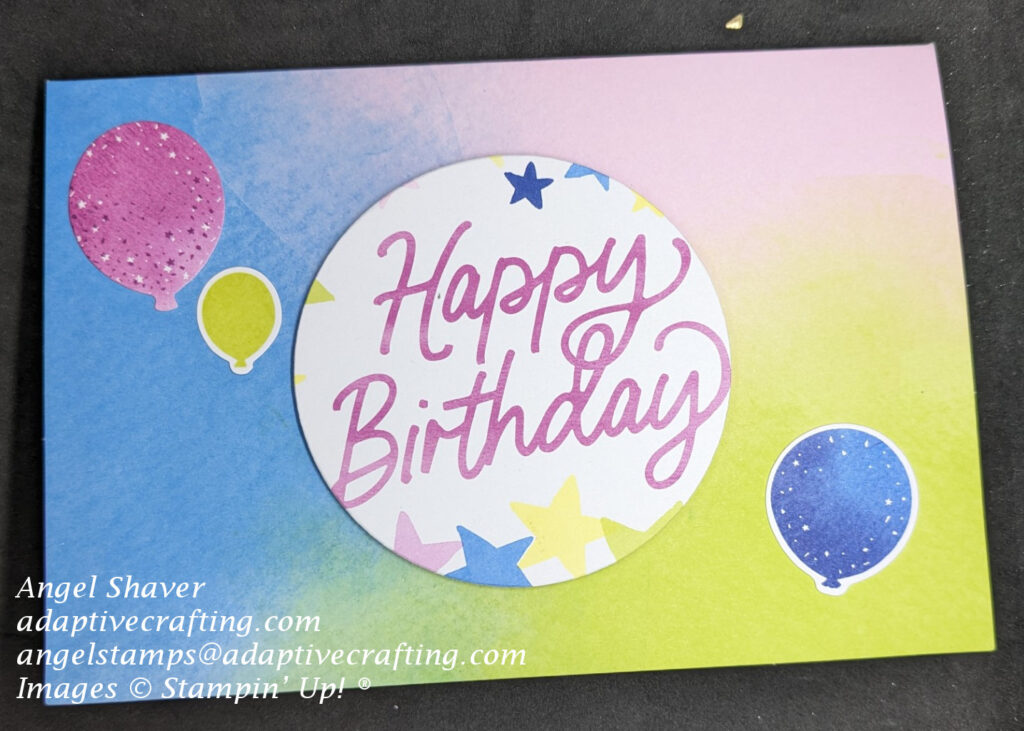
The current Memories & More Kit available from Stampin’ Up! is perfect for birthdays and other celebrations. It’s called Bright & Beautiful Memories and More Kit. It comes with 50 double sided pre-printed cards ( 14 4″ x 6″ and 36 3″ x 4″). It also comes with coordinating stickers. You can use the cards on scrapbook pages and to decorate cards made with coordinating cardstock.
To make it even faster and easer, add the Bright & Beautiful Memories and More Cards and Envelopes. Those pre-printed cards and envelopes coordinate beautifully with the Memories and More Set and are the perfect size.
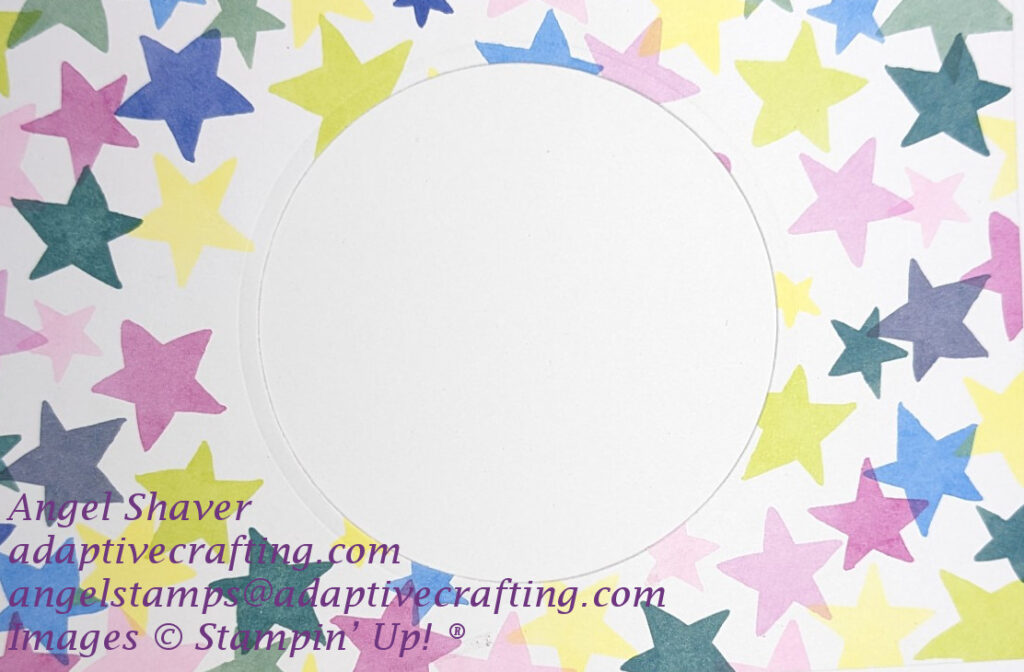
For this card, diecut a circle from a 4″ x 6″ Memories and More card and attach it to the card front with dimensionals. Then, attach the rest of the 4″ x 6″ card to the inside of the card for decoration with a blank space to add a personal message.
Click here to see and purchase products used to create this card.
Also Used:
Layering Circle Dies (Retired)
More Cards From Memories and More Kits
Host code for
| April 1-13 is ZKNT7CQZ |