Cutting Circles
My journey with Stampin’ Up!® began eight years ago. Through those eight years, I’ve discovered lots of ways Stampin’ Up!® products have made my papercrafting easier. One of my earliest discoveries involved cutting circles.
At the very beginning of my journey, I did not invest in a diecutting machine. I tried to fussy cut all my own shapes. While a paper trimmer makes that possible with squares, rectangles, anything with straight lines; cutting circles and curves is a different story.
I wish I had saved some of my first attempts, but alas they were so sad they went straight in the trash. So, I did an experiment again today to see if my fussy cutting circle skills had improved over the past eight years.
Now, mind you, this is trying to cut around a line, not freehand cutting a circle.
Fussy Cutting Attempt
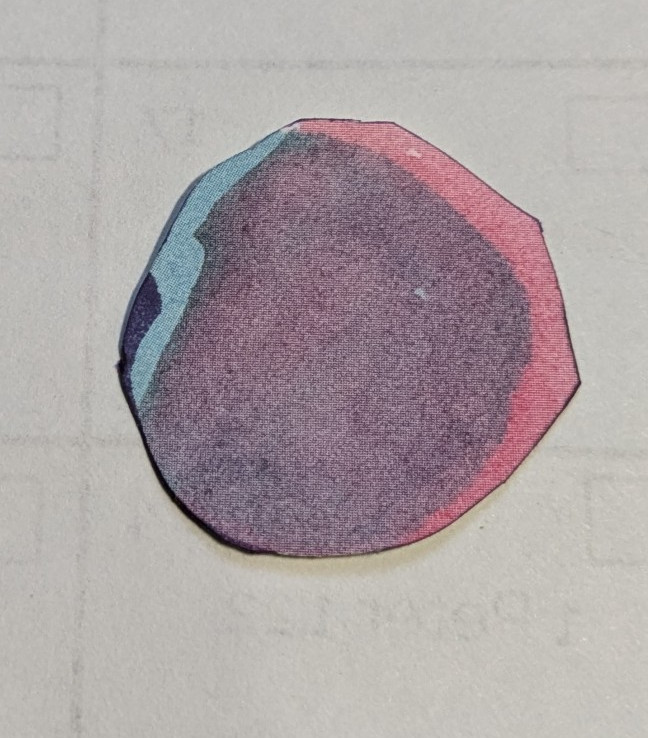
I finished cutting this out and my first thought was how much I had approved since eight years ago. I wasn’t even sure I would be able to notice that much of a difference when I die cut a circle. I WAS WRONG.
Die Cut Circle
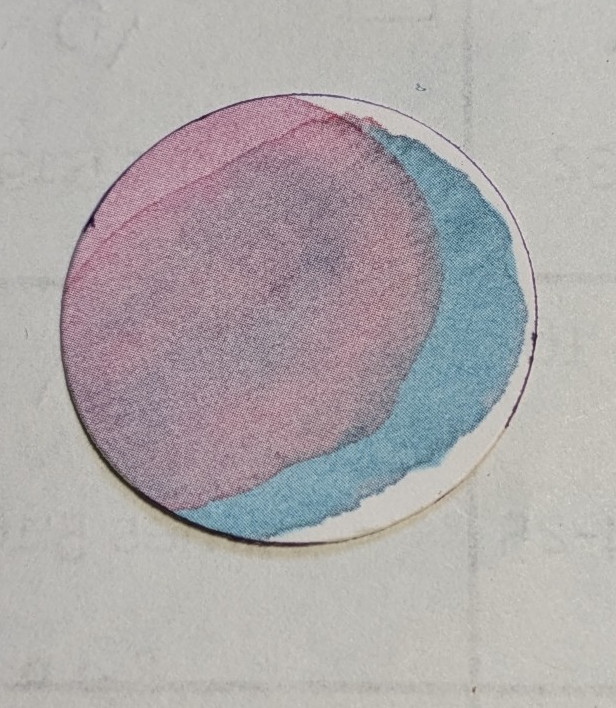
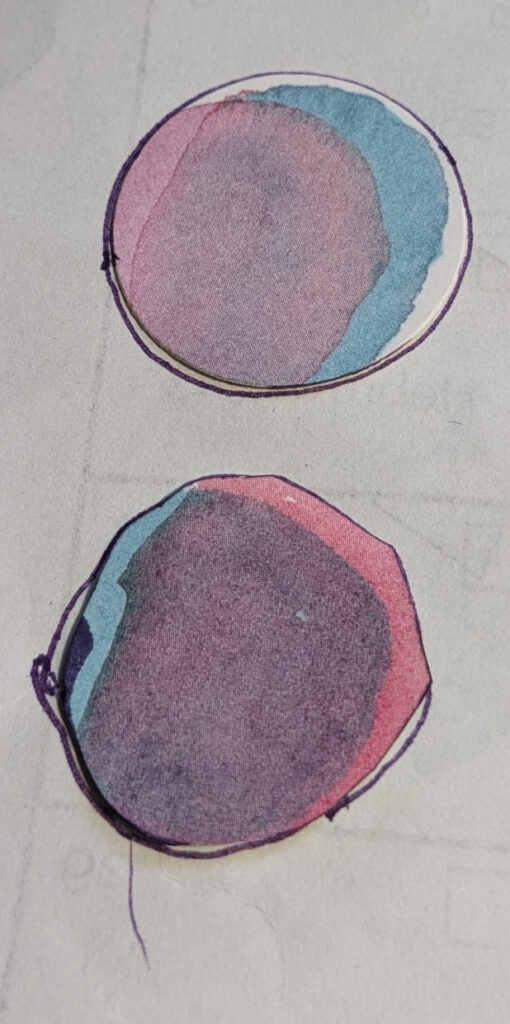
You might not notice much of a difference. Then, put them side by side
The difference is very noticeable when I drew a circle around each of them and then laid them beside their outlines.
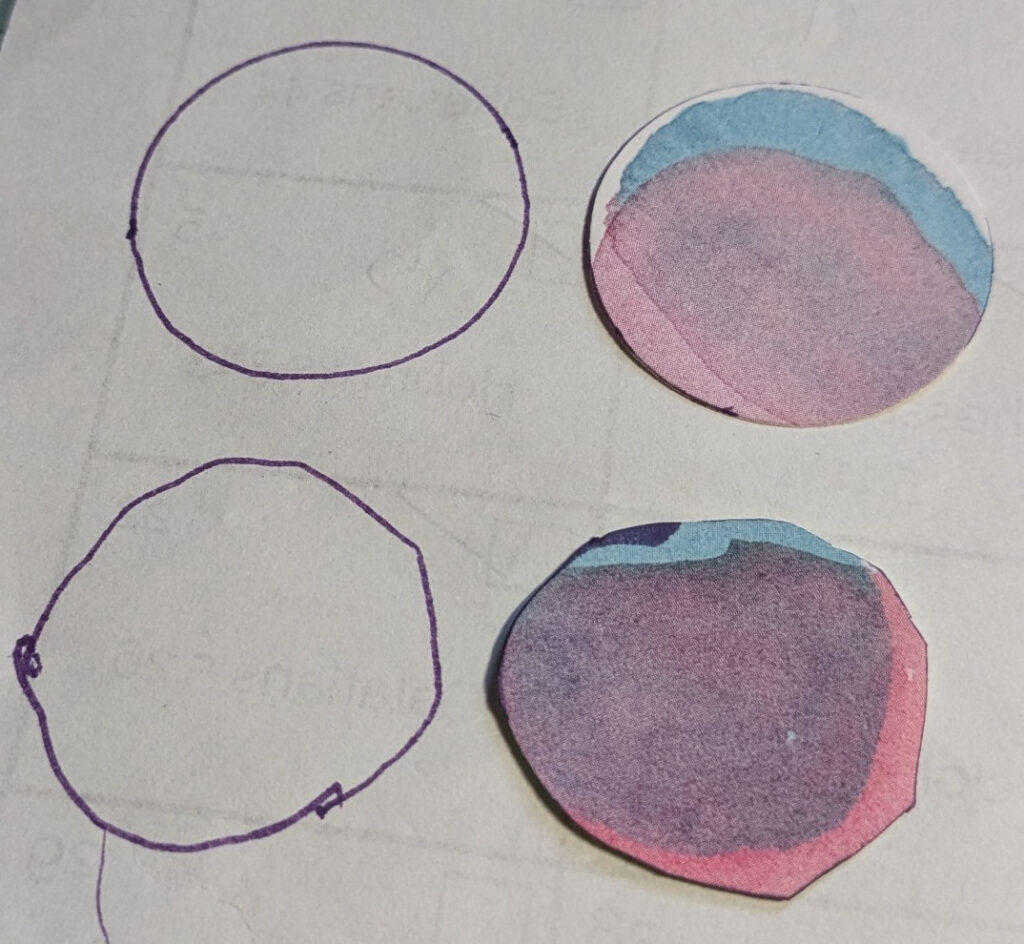
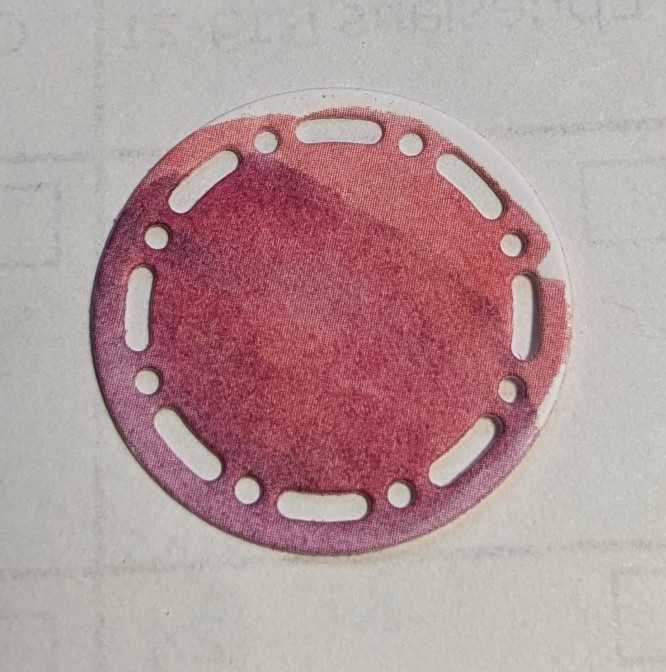
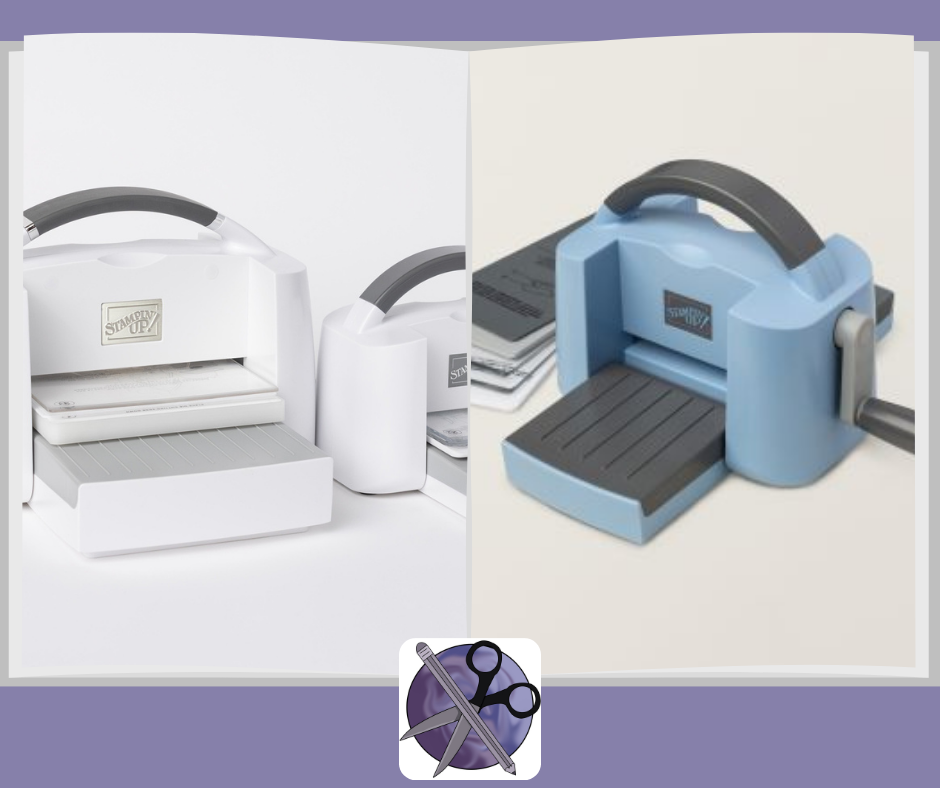
So, the clear winner is my diecut circle. Not convinced yet? If you want to cut any details into your circle or cut out a more intricately detailed die, at least for me the diecutting machine is the only way to make that happen.
I’m sure there are those out there who could take crafting blades and spend lots of time focused on cutting intricate details by hand. But, that is not possible for me. And even if it is possible for you, do you really have the time and energy to cut intricate details? If that is how you love to spend your time, please share photos of your amazing projects. But if you’d like something to make it quicker and easier, consider a diecutting machine.0
I will never cut a free hand circle again if I can help it.

Host code for
| April 1-13 is ZKNT7CQZ |

