Kit Adaptations
There are some amazing craft kits out there. Stampin’ Up! kits come with everything you need to create all the projects in the kit. And, you will end up with beautiful projects if you follow the directions exactly. But, you can also use the products in the box and come up with kit adaptations.
Sometimes, I want to create, but I don’t want to exercise the creative part of my brain. Somebody else needs to do the imagining and designing, I just want to follow the pattern and end up with a gorgeous creation? Do you ever feel that way?
During those times, kits are the way to go. Someone else has already designed gorgeous projects and given you everything you need to replicate them for yourself. All you have to do is put the project together.
But, sometimes a creative spark happens and the parts of the kit are calling out to be used in a different, creative way. When that happens, follow the spark. Go down the rabbit trail. Create something unique and beautiful.
Both options are perfectly fine. Both end up with a gorgeous card as the end result. However you want to express your creativity any particular day–go for it!
Card Details
Do you you like the idea of papercrafting but are a bit scared of the designing process? Do you like creating with paper, but don’t love rubber stamping? I want to help you turn your crafting stress into success.
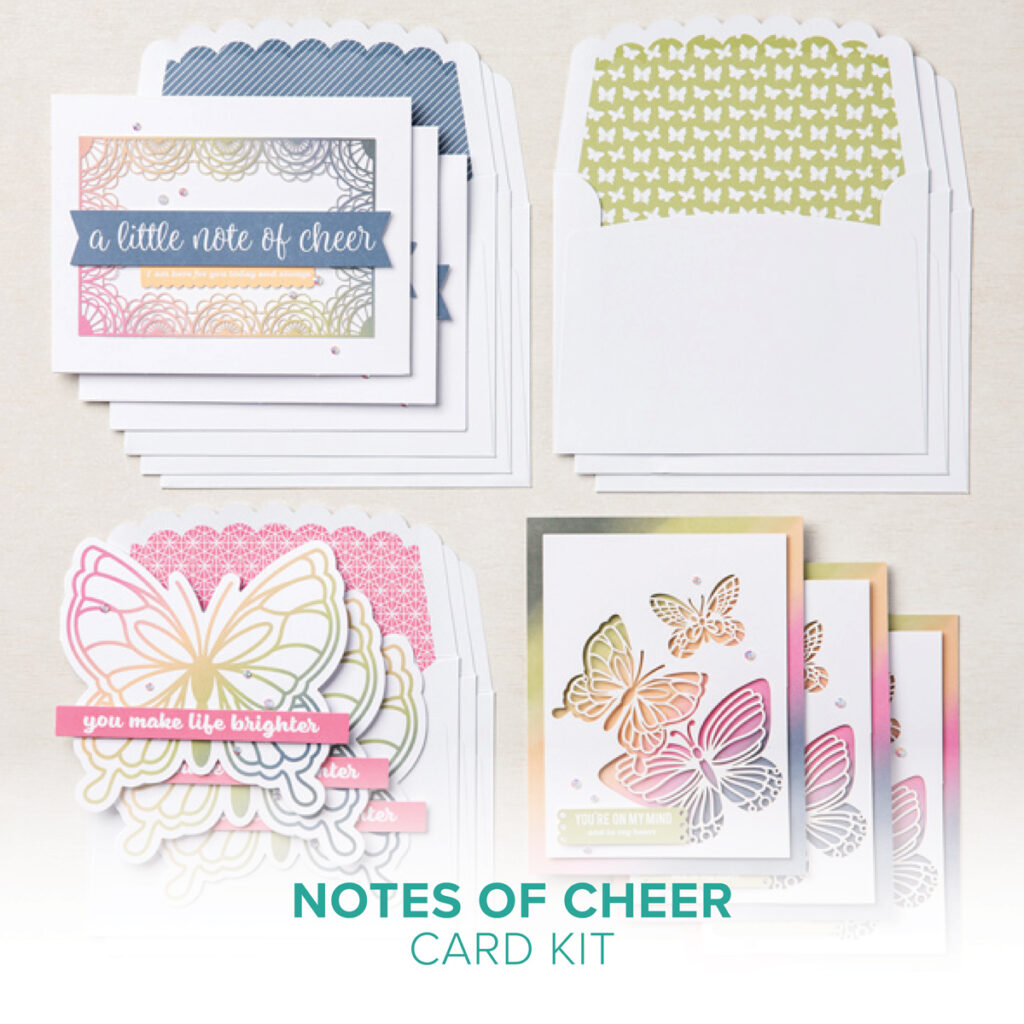
There are no stamping kits available from Stampin’ Up! with beautiful projects already designed with sentiment labels already printed out. You can grab one of those and create the cards as designed.
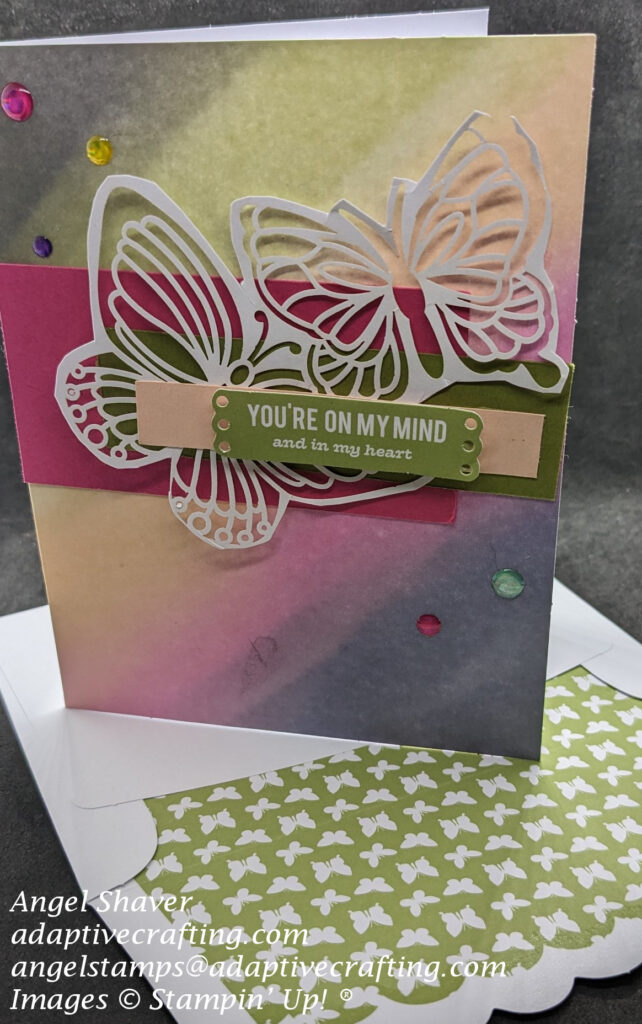
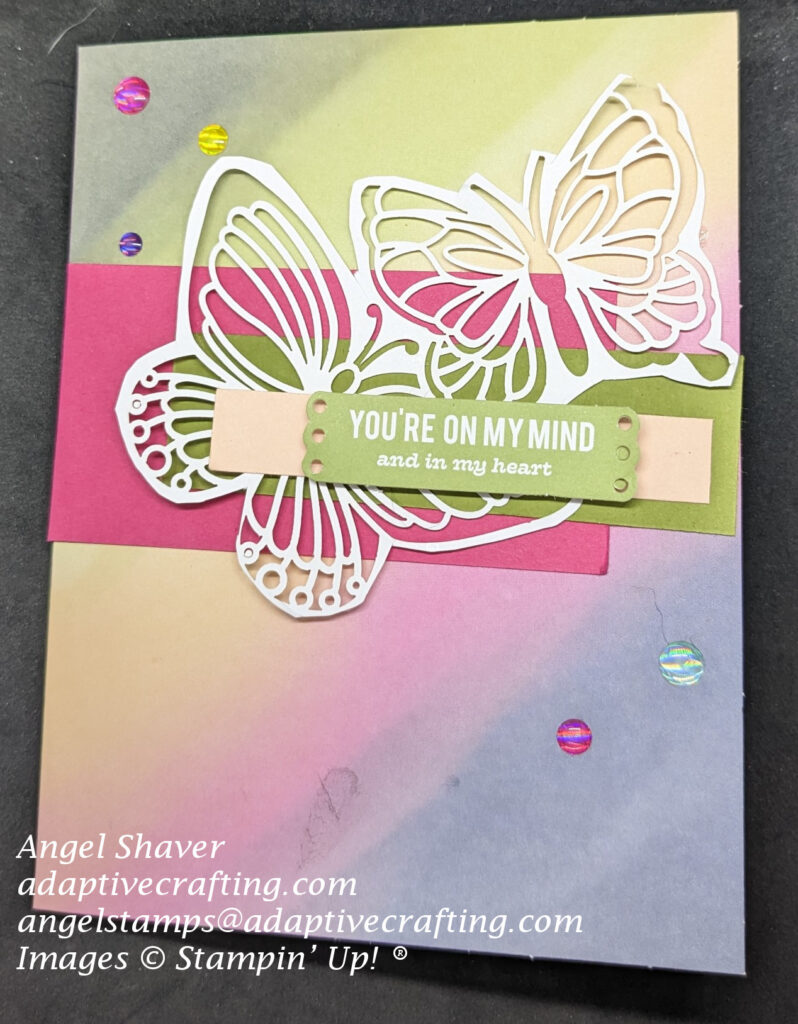
For this card, I wanted to showcase more of the card background itself, so that called to an alternative card.
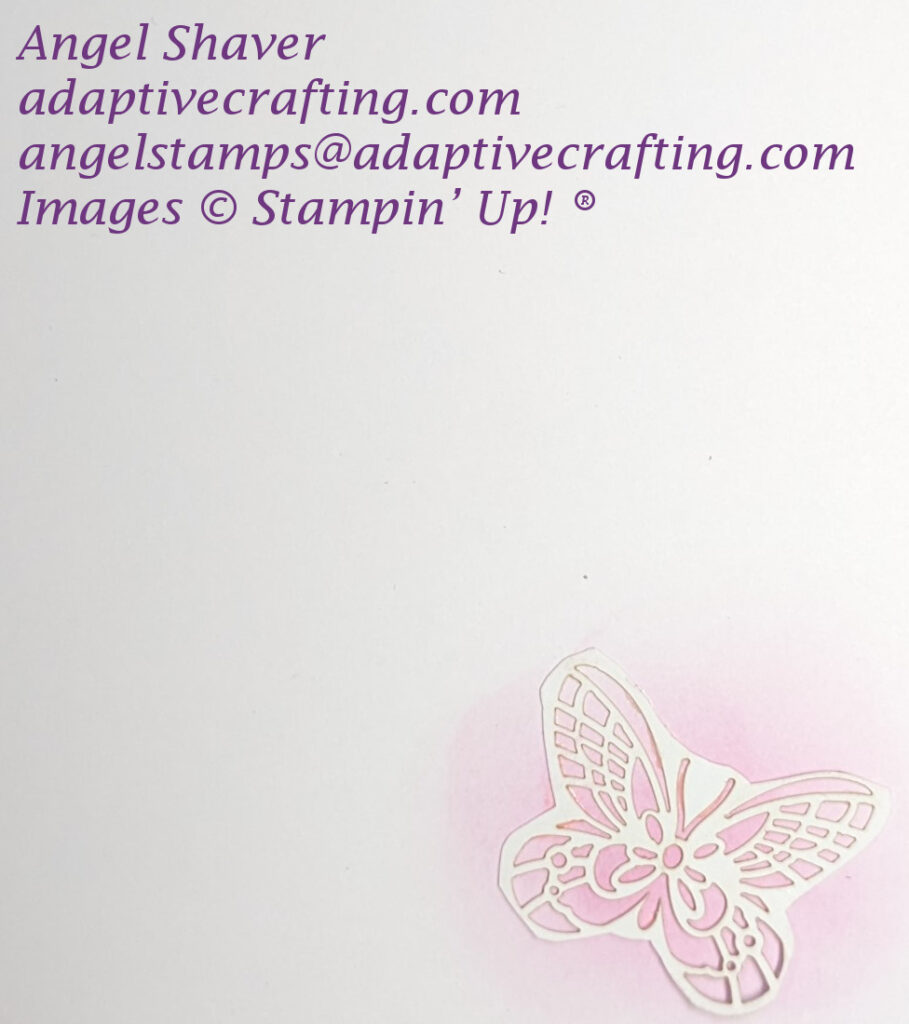
The card uses the same card base with the same diecut butterflies layer. But instead of covering the entire front of the card where you can only see the background peeking through the butterflies and framing the edges of the card front layer, the background is the star of the show. I cut out the butterfliew and only two were used on the card front. The third is on the inside of the card.
Then, add coordinating cardstock strips to the card front along with the two larger butterflies. Next, add the sentiment label to the top layer with dimensionals to give it even more dimension. Finally, Glossy Dots give the finishing touch.
Click here to see and purchase products used to create this card.

Spring or Summer: SPRING
My favorite season is actually fall, but choosing between spring and summer I choose spring. Today was a perfect reminder of why that is so. I love the flowers and butterflies that show spring has arrived. However. there are also flowers and butterflies in summer. But, summer is so HOT I don’t really get the chance to be outdoors enjoying the flowers and butterflies. This week, I’ve been out running errands in my power wheelchair each morning. The last two mornings were cool and the “walk” was pleasant and I could enjoy the nature around me. This morning, the sweltering heat had arrived and all I could think of was how quickly I could get my errand done and get back inside my home. So, I choose spring over summer.
Make sure you head over to As You Like It Challenge: Spring or Summer and #tgifc420 to see the inspiration cards by the design teams and other creative entries.
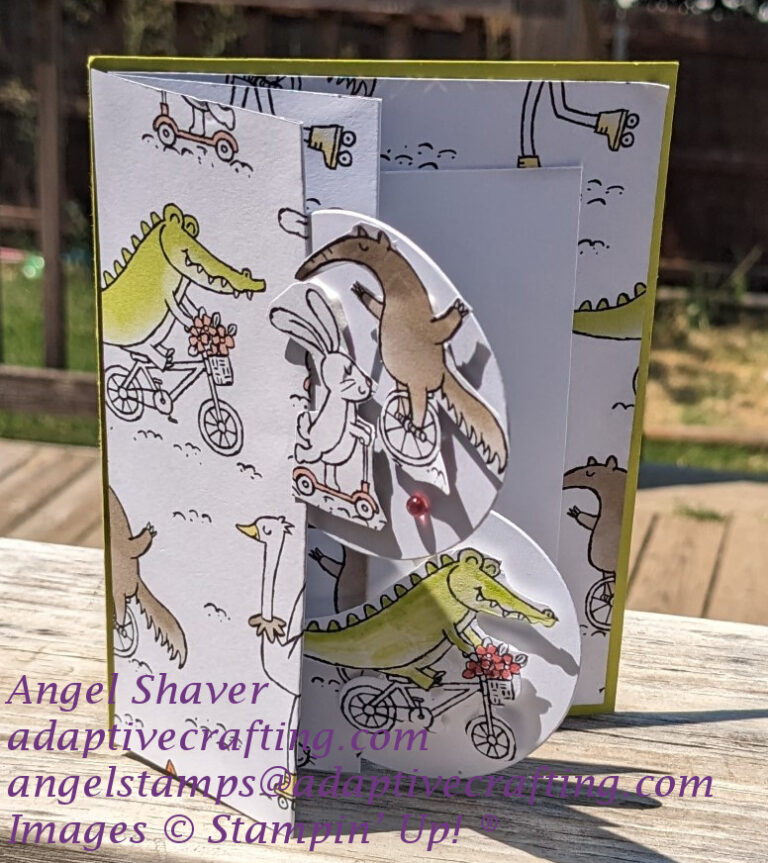
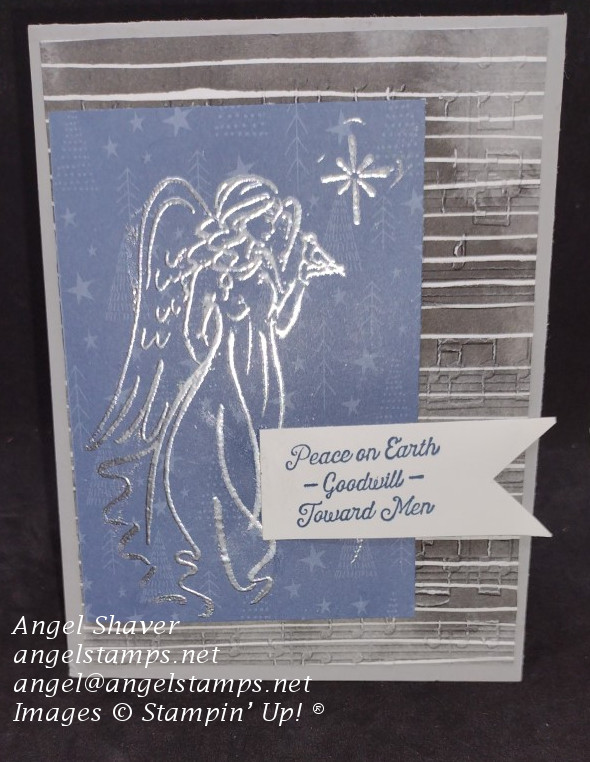
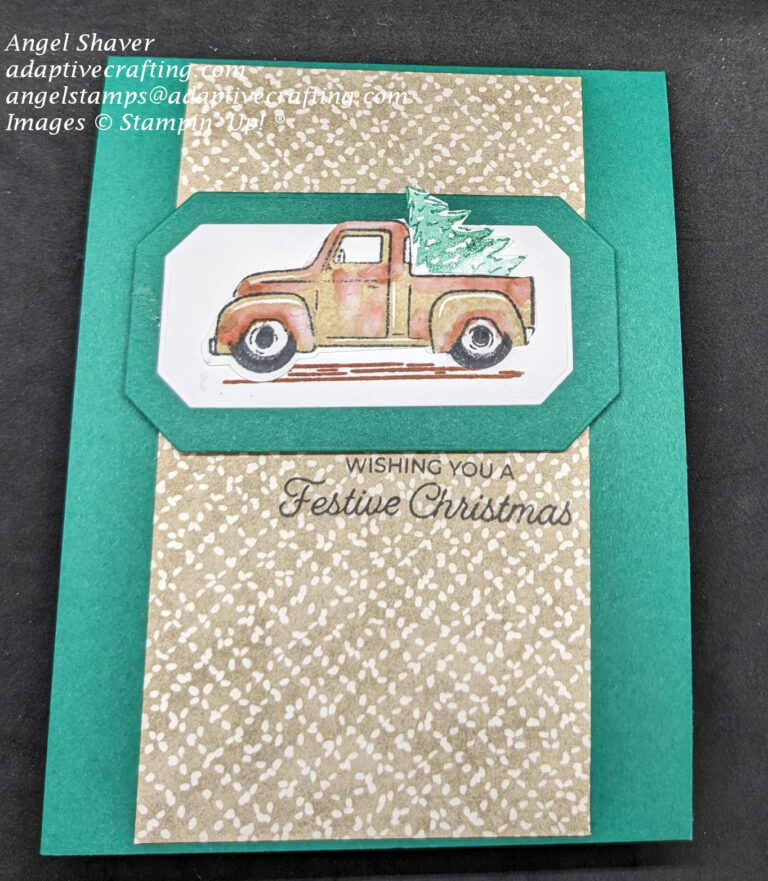
More Kit Alternative Cards
Sweet Sunflowers
No Stamping Needed
Chimpanzee Celebration
Host code for
| April 1-13 is ZKNT7CQZ |

